For this project you will need:
1) ONE long sleeved shirt. The larger the baby, the larger the shirt should be.
2) ONE pair of pants to use as a pattern.
3) A length of elastic that is long enough to fit snugly around your baby's waist (plus seam allowance)
4) A sewing machine.
STEP ONE: Fold your pattern pants in half and lay them on the sleeve to get the length. You'll want to cut about 1-2 inches higher than the pants to leave room for the elastic sleeve. Now, cut the sleeve off. Don't cut the crotch out yet.

STEP 2: Lay the first cut sleeve over the second and cut it out as well.

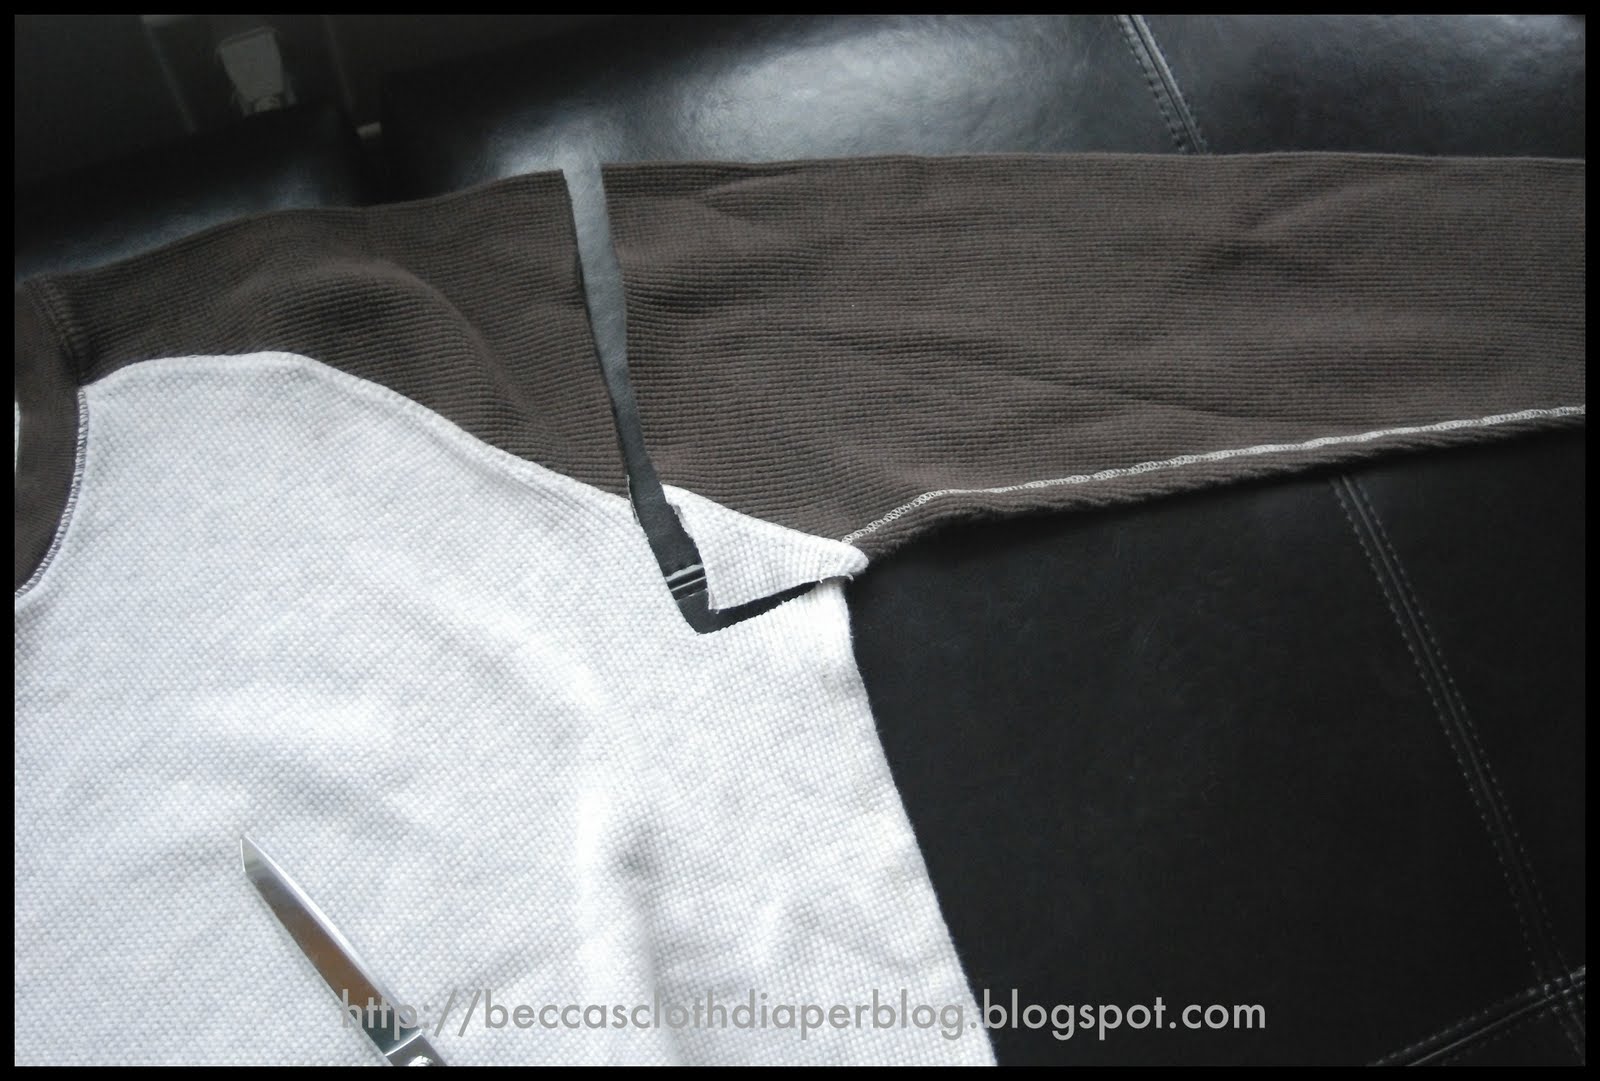
Step 3: Lay the pattern pants (still folded in half) over both sleeves, and cut out the crotch.


STEP 4: To make more room in the bottom for yoru big fluffy diaper, lay both sleeves down next to each other with the crotch's facing each other and gradually cut a diagonal line from the middle of the front of each to the side. This will give you more room in the butt.


STEP 5: Open each sleeve at the crotch and sew together through the crotch with right sides together.


Do NOT use your overlock stitch yet if the seams of your sleeves are on the insides of the legs. I did, and found that it caused a bit of trouble when I tried to lay my seams flat. If you placed the pants so that the pre-existing seams of the shirt were on the outer thigh, then you can use an overlock stitch.


When you're done sewing the crotch together, your pants will look like this:

STEP 6: Now it's time to measure your elastic. To get the right fit for your child, wrap the elastic around his/her waist until it's as snug as you want the waistband of the pants to be. Then, add your seam allowance--about an inch altogether, or 1/2 inch on each side.
STEP 7: Lay your elastic on the waist of your pants, and fold over to get the correct measurement for the sleeve (leaving 1/2-5/8 inch seam allowance)

STEP 8: Sew the elastic sleeve down. I did not pin, but it's probably advisable to do so.

STEP 9: Thread your elastic through the sleeve. I use a safety pin at the end of the elastic to facilitate pulling it through.


STEP 10: Sew elastic ends together. Use a zig zag stitch to sew the ends of your elastic together.


STEP 11: Admire and wear!!!


We're very pleased with Bunny's new pants. If I had it to do over again, I'd put the decorative stitching on the outer leg rather than the inner leg, but they fit well, have lots of room for her cloth diaper, and there is plenty of room for her to grow.
No comments:
Post a Comment