For one of my sisters and her fiance (I have five sisters and one brother), I made the following embroidery:

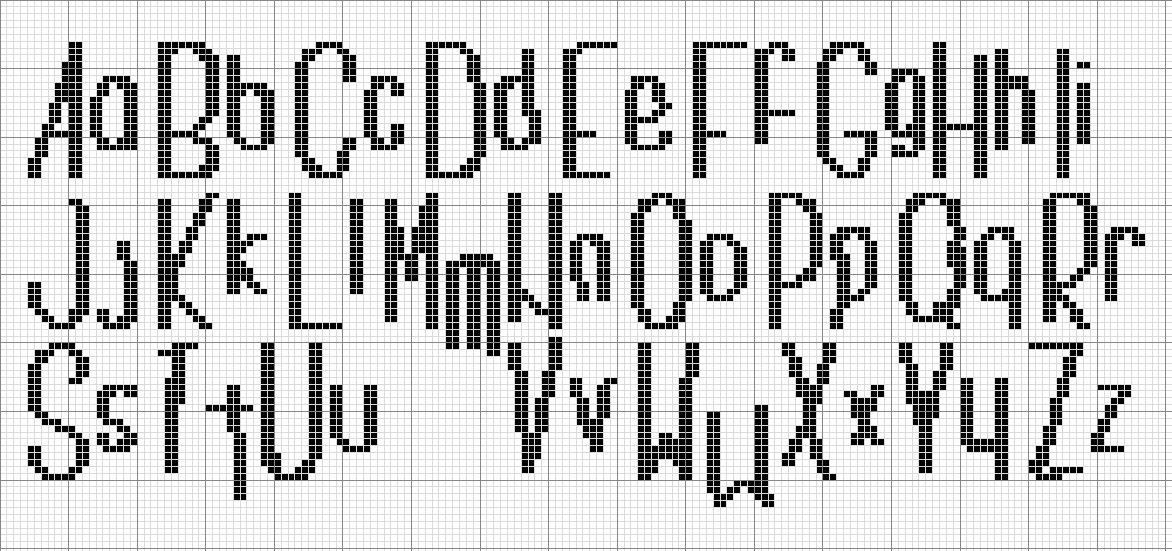
Unfortunately, in the months that I worked on it, this is the only picture I took, and the picture doesn't do it justice. M and her fiance have this ongoing joke about poop. They have a book in their bathroom called, "What's your Poo Telling You" and recently, they added a children's book about poop to their toilet repertoire, so I wanted to make her something having to do with poop. This says, "If it's yellow, let it mellow. If it's brown flush it down." She liked it. It looks messy from this picture, but actually that's because of the font I chose to use. If I had it to do all over again, I would have chosen much smaller letters. I was going to add a toilet and sink to the side--I'd drawn them all out on graph paper and everything--but I ran out of time. I was even sewing this on the long car ride to see my family. I didn't frame it and wrap it til I got to my parents house! If you're interested in the font I used, here's a
link to the website where I found it.
Even though M and her fiance's present was the one I worked on the longest (and the hardest) once it was nearly completed I felt deflated at the finished product. It just didn't seem like enough. So, when I read this
lovely blogger's tutorial about how to make
angry birds, I decided to make some because I know that M really likes that game. One critique I have is that I found it difficult to turn and top-stitch the tufts of hair and the tails because the fleece was too thick and the hole in the pattern was too small. I just skipped that step and simply cut out a piece of fleece in the right shape and used that instead.
Of course, Bunny thought the birds were for her. "Birda, birda!" she said over and over and then started throwing them at me. Since I hadn't been able to be the Mommy I wanted to be to her all day due to my extended periods of crafting, I indulged her in playing with them for awhile. She even left some drool on some of them. I knew her Auntie wouldn't mind. When this picture was taken, I'd only finished this bird. The others were sitting on a window sill that Bunny can just barely reach with sharp pins holding their beaks to their heads. When she started grabbing those, I had to draw the line and boy was she unhappy with that decision!


All in all, I made three different kinds of birds. Two red, two blue (I know, I know, I should have made three) and one of the candy corn birds. I hope my sister and her fiance liked them. I certainly did. Eventually, when my craft fast is finished (It will make an entire week since I've touched a craft in a few minutes) and I feel like I'm ready to reenter the world of sewing, knitting, etc., Bunny will get her own set and my sister will probably get a third blue bird while I'm at it.


