

I made the most amazingly successful fleece training pants for my potty trained little girl, and I would love to share them with you! I haven't yet had the time to talk to you about my potty training endeavors with Bunny, but sufficed to say that after laying the groundwork since she was about a year old, we put her through what we called "potty training bootcamp" just after she turned two where we basically stripped her from the waist down and reinforced good potty habits. We were amazed when she caught on after not quite two weeks! She's now in underwear or training pants full time, and actually sleeps through the night without accidents better than she does in the day!


Part of the success--a small part--is due to the Sesame Street training pants I sewed for her. She was very concerned about peeing on Ernie's or Herry Monster's face. When I realized that, I made five different Sesame Street Character's faces. She loved them so much that she was quite cognizant of keeping their faces dry.

Right now, I'm just going to teach you how to sew the body of these little guys. Later, I'll attach a pattern for appliqueing their faces (and if you want to do the applique, it happens before you sew the pants together)
First, let me explain why I'm sewing my own training pants. I do not want training pants that are just a fancy diaper, which is what Pull-ups and even the cloth diaper varieties sometimes are. I also did not want to spend an arm and a leg on cloth ones when they weren't quite what I wanted. I wanted training pants that were absorbent enough to stop huge puddles in my floor, but not so waterproof that my little cloth diapered Bunny, who was quite accustomed to having a wet diaper against her little bottom, wouldn't feel the need to go to the potty. I bought some Gerber training pants, which are great for home, for this reason. They make it necessary for Bunny change clothes, which lets her know that something is wrong. The fleece pants a little more absorbent than my Gerber pants, and much more waterproof, but they also necessitate a change in clothing when accidents happen, so they're great for going out of the house.
You'll need:
*The Pattern. I've never done this before so bear with me! The top piece of the pattern is upside down so you'll have to turn it around to connect it. Also, there is no overlap with the pieces of paper.


* about 1/2 yard of blizzard/polar fleece. This fleece will pill when washed, but it's slightly waterproof so it's worth it. I also used non-pill fleece for some of mine, but urine goes through it like it's cotton.
* Thread.
* Your sewing machine.


Now, you're going to fold each of your leg bands, and your waistband in half horizontally. Like so:


Now, it's time for the waistband.
Note, if your material is stretch enough, you will not need to insert any elastics here or in the legs.


I like to pin it four times in this case. Again, your waistband should be slightly smaller than your training pants. If it is not, you might need to size up in your training pants by adding to the sides of the pattern, or make the waistband slightly smaller.
Sew this up the same way you did with the leg bands--stretching the waistband as you go to fit the body of the underwear and using a slight zig zag stitch.
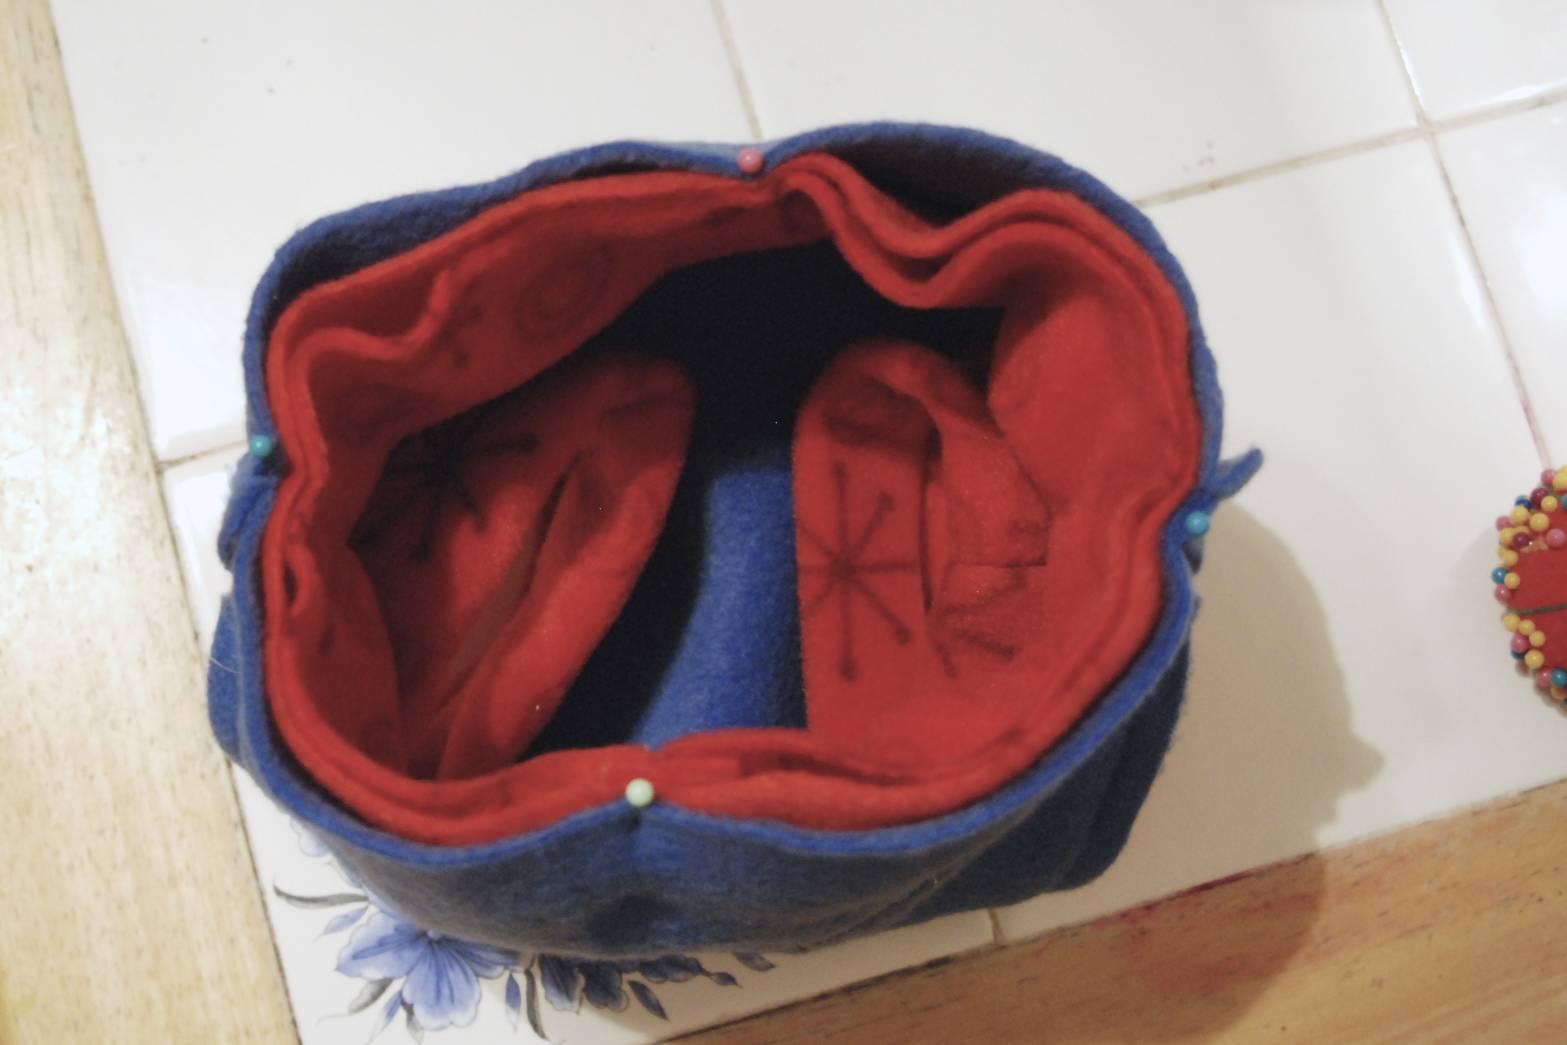
Now, turn your training pants inside out and the body of them is done! Note, if you want to add an absorbent layer, now's the time to do it. We're going to do that using snaps--though velcro would also work.


Stay tuned later on this week for a tutorial on the insert of these pants!
2 comments:
How funny about her wanting to see everyone else's undies. Well, you probably didn't think it was too funny at the time.
I love the look of these training pants. My son (3) has been potty trained during the day for over 18 months. However, he's such a sound sleeper that he still pees every night. We've just put him in a diaper, but we need to somehow make the transition to undies. I think we'll try some trainers and see how that goes.
Perfect! Exactly what I was looking for, and a bonus with the Sesame Street appliques. I was just going to make them for my little girl, but a friend has a little one turning 2 who is Elmo obsessed. These will make a great birthday present!
Post a Comment