Why I Choose to Use Cloth Diapers

Product Reviews


I'd love to review your products and help you spread the word about what you sell. Contact me at clothdiapermommy@yahoo.com if you have a product you'd like me to review and/or giveaway.

Monday, June 18, 2012

Ken's Makeover

My daughter and I found this Ken doll at the local Goodwill.  Naked, balding, forlorn, and only $.99, he was practically begging to be taken to a good home.  And I couldn't resist.  Besides, Bunny could use a male figure to befriend her large collection of princess Barbie dolls.  

So, first we Bunny bathed him.  I filled the bathroom sink with a mixture of water and vinegar (Safe for  children, but also disinfecting) and she lovingly bathed him for upwards of a half hour.  

 After wards, she wrapped him in a hand towel, and sang "Rock-a-bye Baby" to him until he fell asleep.  Then she took her nap and I got to work.  Since he was naked, and I'm in no position to be blowing $7.99 on store-bought clothes, I decided I'd sew him some clothing.  I drafted a pants pattern, since I couldn't find any Ken doll clothes patterns online, and I sewed away.  (I did not enjoy such teeny, tiny sewing)


 Okay, so the pants look a little Amish or plain Mennonite, but that just means he'll fit right into the area we live in.  Besides, we were watching Sleeping Beauty on the day I made these, and I'd sewn Bunny her own Princess Aurora dress earlier that morning, so I figured it could just be the beginning of a Prince Philip outfit.

 You'll notice that he's bald.  That can happen to you when you were born in 1983 and you're made of plastic with painted hair.  So, I rummaged through our paint supplies, and found some sample paints left over from the mural I painted in Bunny's room when she was in the womb (Olympic, because it's zero voc).  These little samples of latex paint have taken me though many a project, let me tell you!
 I found the closest match I could to his original hair color, and I did my best.

 He now has a new hair color, because my yellow didn't have enough orange in it.  It's more Bunny's hair color, though, and more natural looking I think.  I streaked it too with highlights and lowlights.  I think he looks handsome while still keeping all of his 80s charm.
 Finally, I sucked it up and drafted him a shirt.  I didn't want to do it, but it needed to be done.

 I was proud of the mitered corners I made thanks to a Pinterest tutorial :-D
 Not so proud of the shirt, though.  Menswear is tough, especially when this small! It fits him, but the neckline goes up to his chin.  I haven't made a new shirt yet.  This one's good enough for my Bunny, so we'll keep it until I gather up the energy to give one of my precious hours away to Ken's wardrobe.

If you open the top velcro, you'd never know it doesn't really fit! Ha ha!


ANd here's my shorter, Facebook version of this whole story, thanks to Pic Stitch, one of my most well-used iPhone apps:

Sufficed to say, Ken has grown quite accustomed to his place in the Barbie bin, with all the adorable princesses.  So far, Aurora is his favorite, but that's only because he just hasn't had the time to get to know the other girls yet.  It'll happen, and soon, I'm sure.


Sunday, June 17, 2012

Happy Father's Day

Happy Father's Day to one of the two best father's I know!

Thursday, April 5, 2012

Dyeing Wool with Easter Egg Dye


It started off as a normal morning with extraordinary amounts of laundry to fold and dishes to wash.  I had my to do list and I garnished it with two or three knitting projects I allow myself to indulge in during naptime.  And of course, since Easter is right around the corner, I carved in time for some Easter Egg coloring, which my little Bunny loved. 

We colored the eggs, and used the magic crayon on them, and Bunny learned the hard way that you can't throw them into the basket.  They came out beautifully and she was very proud of our work.
And then, I looked around at the cups of dye and I just couldn't bring myself to throw it all away! What a waste! So I looked online and found a way to use it--dyeing my wool yarn.  Here's the tutorial if you're interested in trying it yourself.  I'm not going to give you all the scientific details here since she explains it so well.  

THUS began a project that didn't take much time for what it was worth, but did take an hour or so of time out of my already busy day.  But it was well worth it. 
I wanted striping yarn, so I separated a skein of Lion's Brand Fishermen's wool into even swatches, knotting each one together, but keeping the skein whole.

 Then, I soaked the wool in 1 part vinegar, 4 parts water--but just enough to make the wool damp throughout, not dripping.  It's important that it is ALL damp--that there are no dry parts. 


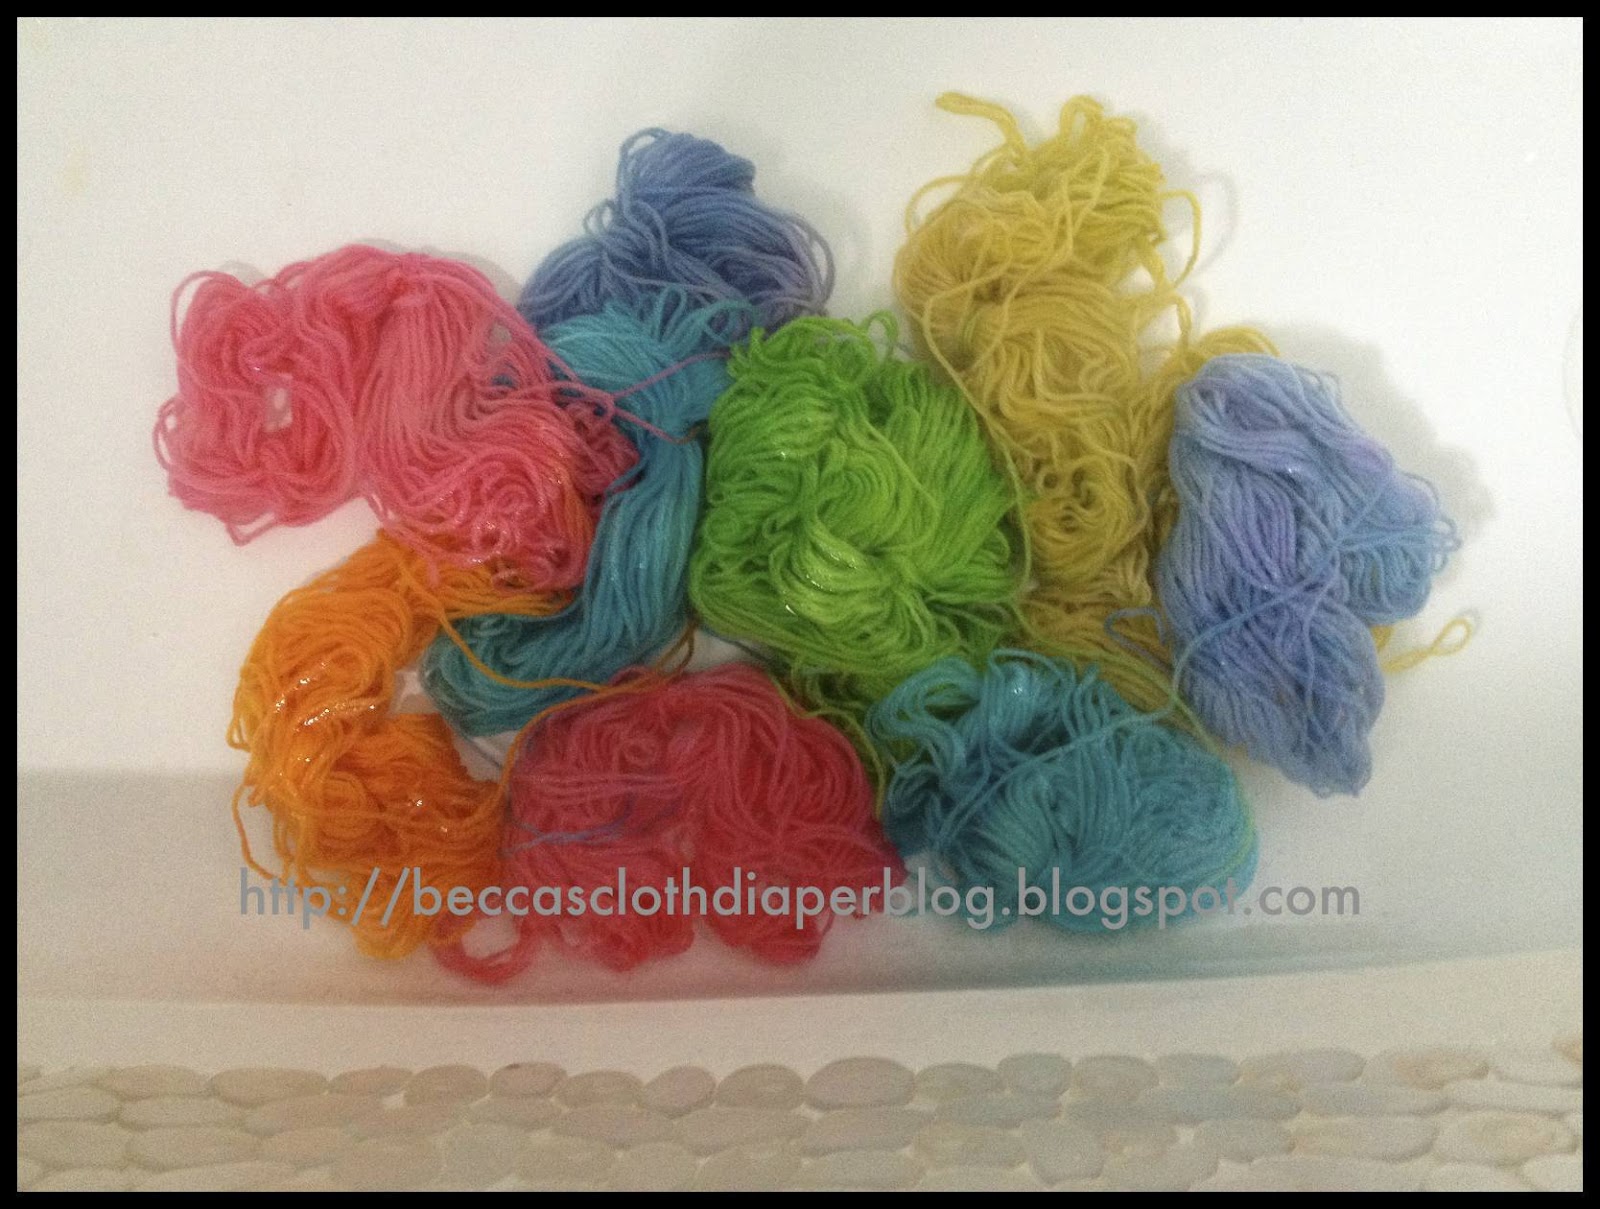
I put the sections in bowls, (all connected--which was a bit confusing, since I wanted to keep them in rainbow order for my striping) and then, I covered them with plastic wrap--the stick and seal kind-- and microwaved them in 3 minute increments with 5 minute breaks in between until the water ran clear.


I pulled the wrap off and they were VERY hot, but the water was clear! I wanted to transport them to the tub without burning myself so I put them in a bowl of hot water first.
Per the instructions on the tutorial, I knew that the colors were set since they didn't run at all when I put them in the water.  I couldn't believe it worked just as she'd prescribed!

I let it soak in the bathtub in cold water for 10 minutes or so to rinse the vinegar out.

Then I pressed it between two towels to get the water all out--carefully keeping the sections of my long piece of yarn in order so as not to cause tangling problems later on.
Then, I put it in my basement and let it dry on my drying rack.

My house smelled like wet sheep and vinegar for at least 12 hours, and my hands were dyed for awhile, but it was a small price to pay.

Now, I'm rolling the whole thing into one, big ball of yarn! This was so fun, and Fishermen's wool is pretty inexpensive if you buy it at Hobby Lobby or Michael's with a coupon that I think I might invest in this yarn ball winder from knitpicks.com because I'll DEFINITELY be doing this again!

Monday, April 2, 2012

Babywearing


I haven't worn Bunny in a LONG time.  In fact, it had been nearly a year since I'd had the need to wear her until the other day when she was inconsolable and feeling under the weather.  I suddenly had the instinct to nurse her (which I can't do because she's been weaned for a couple of months now) and wear her like I did when she was a fussy infant, so on a whim I stuck her in my trusty Moby.  She liked it.  She sort of struggled against the confinement but when I asked her if she wanted to get down, she did not.  It was cute.  I forgot how much I LOVED having Bunny in the Moby, wrapped snuggly and safely against me. 

A day or two after these photos were taken, I babysat a friend's 5 month old and wore him to calm him down and Bunny noticed.  So, a week or so later, when I saw her sleeping with her favorite stuffed toys under her shirt (I'm proud to say that her favorites are some that I made for her!) I knew exactly why she was doing it!  So cute!!!

Friday, March 30, 2012

Educational Fun: Letters

This is a fun, and easy project for toddlers who are just learning to draw and write shapes and are trying to learn to write their letters for the first time.  You can encourage them to paint within the lines, to trace the shapes of the letters, or let them go crazy and paint wherever they choose!

Materials
child safe paint
outlined letters/names on paper (either printed from the computer or drawn by hand)
Paint brushes
paper/cloth towel (I use scraps from old T shirts)
Water for cleaning brushes